Friday 28 February 2014

My Prefold Hybrid

The other day I brought my gathered leg prefold diaper (or prefold hybrid) into being.  And yes I did post about it.  But as a diaper itself I think it needed a little more, some comparison pictures particularly.   And well if it turns out to be a great idea it would have it's own post right?  So here it is. 
I think I'm calling this the prefold gathered leg hybrid.  And the following is a series of photos showing my reg prefold next to my gathered leg prefold. 

Thursday 27 February 2014

Diaper Creams & Cloth Diapers

So one of the things you will receive as a shower gift (or have purchased yourself) is diaper cream to protect or heal diaper rash.  And the two best out there are thick, creamy diaper absorbency destroyers.   And your wondering what on earth are you supposed to do? Protect that little bum with cream or with absorbent diapers.  And why can't life just be easy enough to let you do both? 

Well actually you can.  Remember me mentioning disposable diaper liners that are flushable, biodegradable and make cleaning poop into the toliet so simple?  Yeah well they also protect your fluff from diaper cream.  So...

Solution #1: use a disposable diaper liner. 

And of course there is...

Solution #2: dont use cream. 

Ok dont worry, most of the time your cloth baby won't need cream cuz a healthy, natural, clean cloth diaper that is changed and laundered often wont lead to diaper rash.  However foods, teeth etc will lead to a rash on occasion.   So return to solution #1: disposable liners.  *of course there are diaper rash treatments that are cloth friendly and they will be covered later, this is about creams.  The cloth safe items are usually oils.  Also I haven't used them and I am skeptical as natural oils are one of the this.gs we remove when prepping cloth diapers to increase absorbency. 

Why?  I always wonder this so I will assume others are likewise curious
  The creams are designed as a wetness barrier for babies skin.  Of course as it builds up in the diaper it becomes a wetness barrier for your diaper.  This isn't so great as you need that diaper sucking up wetness not lettinng it roll off. 

If your diapers are starting to be less absorbent and you've been using cream, this is why.  Having made this rookie mistake myself years ago I can tell you that you van see the white build up on your white diaper.  Or more likely your cloth liners.  They will need to be stripped.  Since for me it was just liners, I replaced them. 

Ever since I make sure to use the disposable liners.  I still use cotton ones for absorbency but over those is my poop catching diaper build up saving disposable liner.  They are worth the money.  Actually they are worth more then the money (the are very affordable) . 

So keep your fluff fluffy and not weighed down with cream build up. See, the fix was simple and you can still have your cake and eat i it too.   

Wednesday 26 February 2014

MY NIGHT WRAP AND BIG PREFOLD HYBRID IDEA!

So when I decided to make my own diapers I had contemplated a hybrid idea of a prefold with a gathered leg. 

My final decision was to not try something new.  Who was I to think I could re-invent the wheel. 

Well this morning I decided to make my night wraps.  Which I've designed in the less typical manner.  See I know fleece is great at handling night time diapers.  Except I don't like it as a material inside a diaper.  And its not water proof,  its water repellent.   So I made myself a 2/2/2 fleece prefold, to be used between between cotton prefold and a waterproof wrap (like PUL or taffeta). 

And then I thought im gonna try my hybrid idea.  Im gonna put elastic where prefolds wrap around the leg.

So fold like a prefold Place cotton prefold diaper inside. Do up diaper and fleece, stretching fleece over diaper.

Then put your wrap over top. Might sound bulky but its not. Its only 4/6/4.

Then I thought well I'll try it with the remaining prefolds left to sew. If I dont like it I can pick the threads and the elastic will let go. If I love it I can get some covered elastic and add it to the prefolds that dont have the gathered leg. I dont know if others are doing this. I was told there is a similar concept on YouTube. There is, its kinda cool, lil different, little more involved. Mine is more basic.

I'd love feedback on this. And I will totally be giving feedback after baby is born. Plus a post on either letting elastic go or adding it.

Monday 24 February 2014

DIY UPCYCLED KNIT BABY LEG WARMERS TUTORIAL - 3 different styles

So after yesterday I woke up today still very excited about my (in the mail) baby leg warmers.   When I had a great thought: knitted baaby leg warmers would be So Cute...except I can't knit.  So I decided d I would make some out of sweater sleeves. 

Now I love my knit sweaters and didn't want to cut them up
  Plus then I wouldn't have sweaters.  So I went to the local mission (I live in the ghetto) where they have free everything including clothes. 

I found three sweaters with knits, colour and feel that I liked.  Also 3 different styles and sizes (toddler, child, adult).  So this tutorial actually shows 3 different (and easy) ways to make upcycled baby leg warmers from sweaters.  Also I did them all long so they will bunch on the legs, and not be grown out of. 


LEG WARMER #1 (Toddler size, hand knit, cuffed wrist and neck hole):
1. Cut straight up from armhole to neck. The wrist will be one cuff. The neck the other cuff.
2. Starting at the base of the wrist cuff sew (with sleeve turmed.inside out) in a solid zigzag in a straight line up to neckline. Now you have a tube See the solid zigzag stitch in the red? 3. Cut off excess material (careful not to cut the stitches). Turn right side out and your done. *note: the finished width is 8.5cm which would be a diameter of 17cm. The length is about 33cm.
LEG WARMER #2: Adult sweater with rib knit cuffs, waist and fold over collar in neck.
1. Cut sleeve straight across at bottom of arm hole. 2 sew in a straight line from base of wrist cuff to top. 3. Cut off excess. 4. Cut 16cm of rib knit collar off. Sew to non cuffed end of leg warmer. *the leg will.stretch more then the cuff while sewing. Use much finger pressure and guidence at Presser foot to prevent stretching. 5. Sew cuff together. Turn tight side out andyour done. LEG WARMER #3 - child sized sweater with no ribbed cuffs:
1. Cut sleeve straight off. 2. Cut off 16cm of a rib knit cuff, waist etc from another sweater. 3. Sew cuff ends together creating a circle. 4. Place sleeve I.side cuff.with raw.edges together. Stitch and turn right side .out So there we go; 3 knit baby leg warmers at zero cost. And regardless of the sweater, there are.ways to make it work. Style 3 is a good way to add colour to a plain coloured sweater/leg warmer. Enjoy.

Sunday 23 February 2014

SO EXCITED ABOUT BABY LEG WARMERS - Clothes can be an issue when cloth diapering.

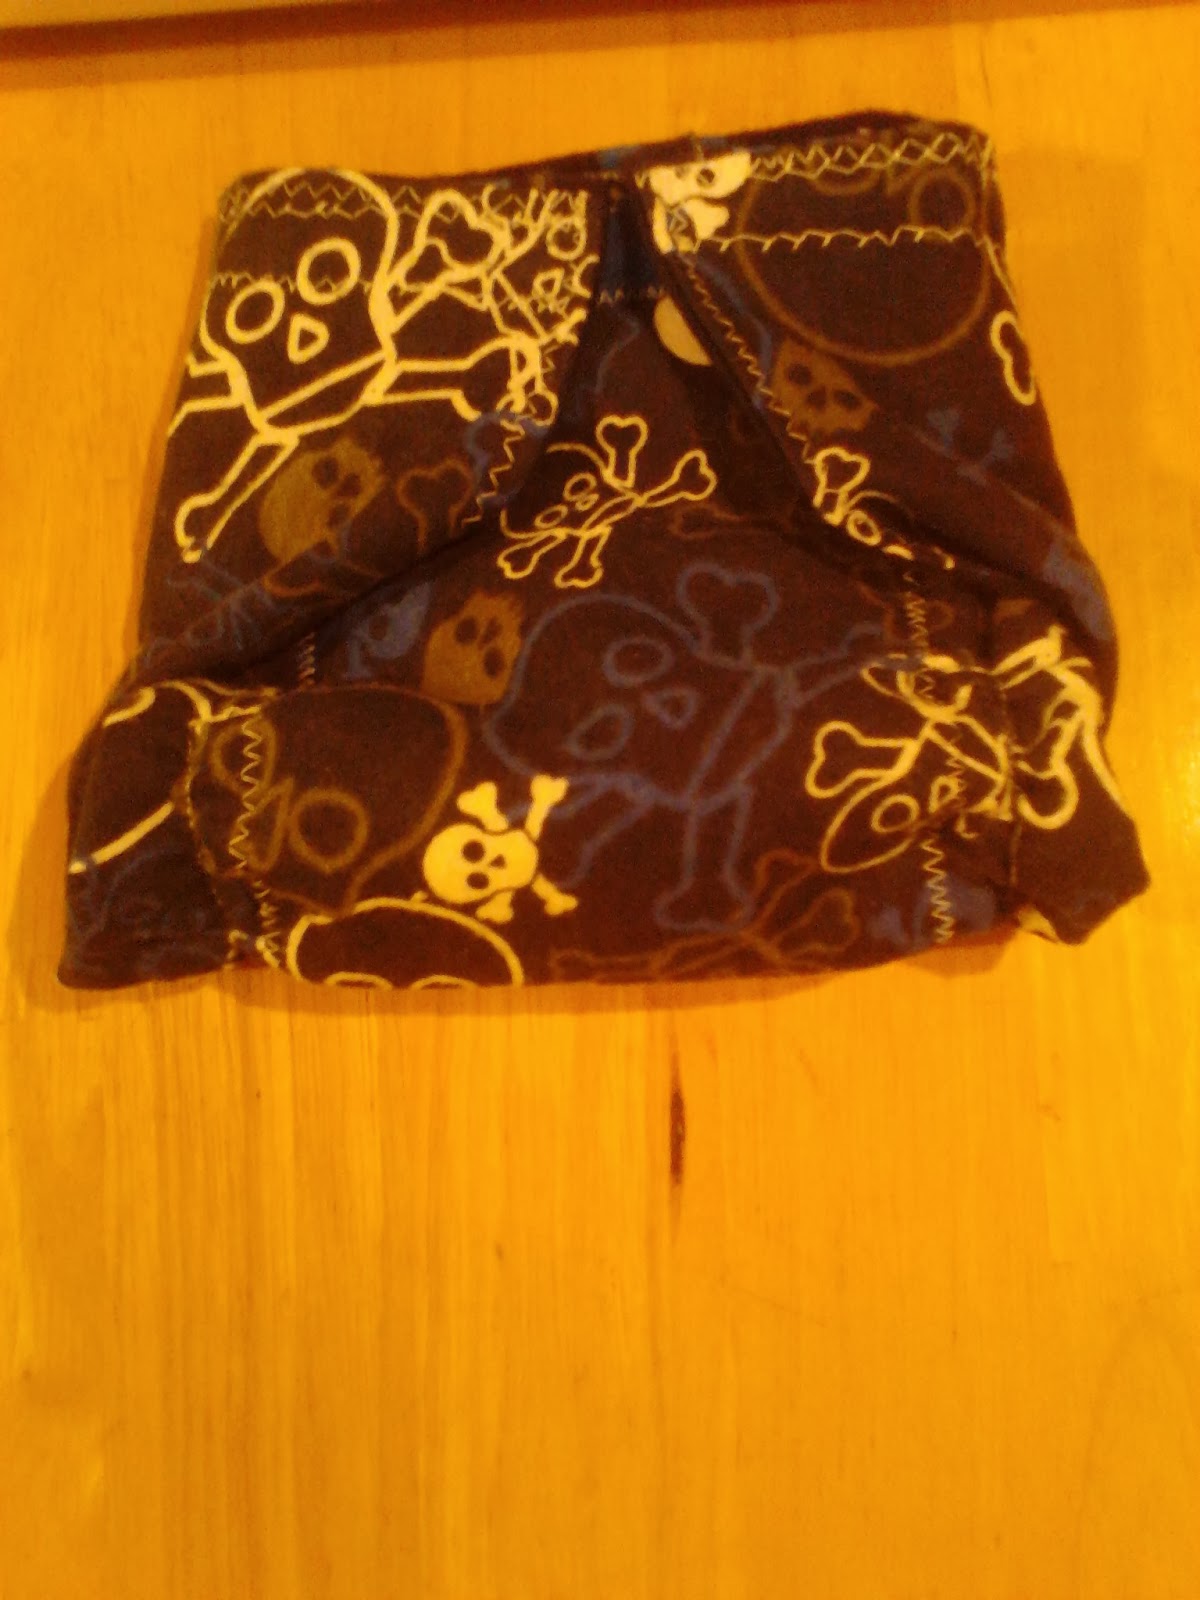
When it comes to cloth diapering clothes can be a real issue...one that has gotten worse as the years go on.  Why? Cuz mainstream baby clothes are made to fit mainstream (disposable diapered) babies. 

When I look back to family pictures of my siblings and cousins (all 70's babies), and our parents and grandparents; I realize this wasn't always the issue....but back then mainstream babies wore cloth diapers.  Back then babies had rompers and such outfits that had wide butts that fit cloth diapers.  Also back then everyone had at least one family member who could (and would) knit rompers, Shorties and Longies.  Plus they could be found at reasonable prices at church bazzars.  I even got a few for my first two kids. 


Cloth diapering girls and boys has different advantages and disadvantages. Dresses and tights are perfect for cloth diapering. As are sweatpants. Stretchy and / or loose. Boy jeans fit baggier then girls jeans, although from looking at today's baby clothes I'd be surprised to find jeans that fit boys or girls in cloth.

There are of course long-standing solutions. Kushies being a cloth diaper company that also makes baby clothes and accessories obviously makes their baby clothes to fit cloth diapers. They are not budget clothes however. Id say they are mid range price. Oshkosh clothes have also fit. To be fair I should point out I've never had many of their clothes due to price, and what I did have was unisex sweats and overalls so I could pass them down kid to kid. I am also hoping to check out the local Oshkosh store soon and will be wondering (out of curiosity) if they still are wide butted. I'd likewise imagine other cloth diaper companies have a fee clothes to sell.

Wool has been the diaper cover and clothing of choice for fluffy cloth butts since before there was plastic pants (so since before there was a choice). They however fell out of fashion (but never dissapeared). They have now become a very trendy baby item for cloth babies. Wool is also cute, effective and functional for cloth babies. They have variety too (as discussed in the blog post on diaper wraps): Wool Longies, Shorties, wraps, sleepsacs, etc. However they are pricey!! Id love some (or one lol) but these are currently beyond my price range. There are tutorials to make up-cycled ones and I might give that a try at some point.

AND NOW...
....we have baby leg-warmers (also known as leggings, which can ve confusing since girls stretchy pants are also called leggings). I dont remember these with baby #5, but they could have been around then. If so I'm guessing they were pretty new and not so popular yet. I believe they are actually a fashion statement from the EC (elimination communication) crowd, but the practicality crosses over!

So I'm all excited to try out this new fad. I admit I'm into a fad idea I have never tried. This is highly unusual behavior for me. However it looks like an incredibly practical (and adorable) solution for cloth diaper moms. I can picture using it which is key to jumping into something new that you haven't tried before. Also I was always a big fan of babies nightgowns and long socks at night as it was much more practical then a sleeper with buttons for late night diaper changes. And I feel this is a fashionable daytime version of my nightime baby wear.

And so I looked for leggings at local stores. One very expensive hit. So I looked online. Over and over I saw the average cost was $10 a pair. I found on-line tutorials and considered this as a possibility. And just as I was wondering what I should do, my Facebook mommy group posted a link with coupon codes. One was to WWW.babylegginngs.com
The coupon code (fableggings1) got me $50 off which means 5 free pairs with just the cost of shipping ($16cnd). Excellent price so I ordered these 5 Then today knowing I had a spare $20 I could spend on baby stuff. And having seen one to many adorable cloth and leggings pictures along with realizing this could be the main baby fashion in this house I decided that $20 would be another 5 pairs. So I ordered.these! :)
Well my excitement over this decision lead to my curiosity so I decided to research the baby leg-warmer trend. I wanted to know the year they came out as an alternative to pants for cloth babies. I didn't find that answer. What I did discover is the average size of baby leg-warmers. (8cm X 33cm, give or take).
HOLAY!! The real practicality of these just hit in that moment....babies don't grow out of these (confirmed by some more research). In that case the "big" price of these is actually a great investment just like cloth diapers. Which means I just got the deal of a life time. For less then $40 I have 10 sets of leggings that will serve as a replacement for pants (frequently) that are designed to last through potty training (depending on wear). When most baby clothes are grown out of in just a few months. This is incredible.

I'm really hoping my excitement over these lasts. Buying tops for baby #6 will mean co-ordinating with my leggings stock. Totally worth it. Although I may over time get a few more solids.

I've been complaining that the recent baby inventions seem ridiculous to me (baby food blenders when your regular one does the exact same job, diaper genie, video monitors that hook up to your phone to make moms more neurautic etc). If you have and like these items dont get upset with me, it just seems strange to me, likely cuz im a little old school. But these leg warmers seem like the most sensible idea I've seen. Even if they fit just a year thats a huge savings. And in all my excitement the concept of baby #6's first outfit came to me! For each of my kids I have made the outfit they first wore. What will baby #6 be sporting?...well that's another post. I will tell you this: • it will go with one of the leggings I ordered• its more edgy then what my others had. •it's April festive in a Tim Burton kinda way lol • there will be pics in less then 2 months! I had a great time today and am so excited for my mail to arrive.

TIPS FOR CLOTHING YOUR FLUFF BOTTOM BABY:
• tights, stretchy pants, and Pajama pants tend to roll over the waist of cloth diapers and end up with a wet waistband. Instead of placing waistband over the diaper, place it on the diaper.
• look at the butt and thighs of all pants you buy, and ask: "will it fit over a cloth diaper"? •learn and check out alternatives. -Nightgowns over PJ's - one piece over two piece - stretchy - wool - clothes with no butt such as dresses and baby legwarmers - clothes made by cloth diaper companies.

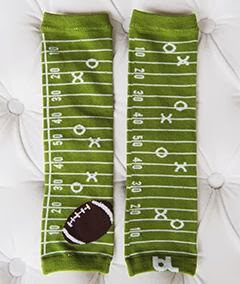
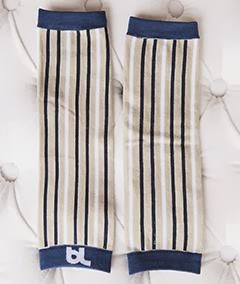
Off to dream world now while I dream of my cute fluff bum baby in leg-warmers. And on that note I will leave you with two commercial pics:
Today's cloth baby in leggings And yesteryear's baby in a knit romper.

Saturday 22 February 2014

Is Your Brand New Diaper Leaking - We Can Fix That

Ok so your super excited to use your brand new cloth diapers.  You feel confident, and I've assured readers multiple times that it works if you change it.  You washed them once after they arrived (like all new baby clothes).  Time for super cute fluffy bum!!

And then they leaked.  You changed them but the absorbency wasn't what everyone promised.  Your frustrated, tired, confused and have 3 weeks worth of laundry that you've accumulated in just 2 days.  There is a fix, its simple and its a strange little thing about the cloth diaper world.

Before using your cloth diapers for the first time they need to be washed 3-4 times.  This makes them more absorbent.  In fact cloth diapers continue to increase in absorbency over time (so long as they dont have residue build up or ammonia) . 

Why does washing increase absorbency?  Well with some natural fibers it removes oils, but thats only part of it and happens quickly.  What the washing does is soften up the fibers in the cloth.  It also takes them from smooth to more fiberous.  And it opens the weave of the material up some.  This allows the fabric to pull in and distribute the wetness.  This process is especially important with prefolds as it quilts them up.

So before using your cloth diapers wash them up several times.  I use a regular detergent amount on the first wash (and since I made them this time that was when I pre-washed the fabric before sewing).  For the next several pre-washes just a few spoons of detergent is enough.  **only for prepping, dirty diapers need the correct detergent amount** You dont need to dry between washes.  That's optional and personal preference.  If your at a laundry mat I'd just dry at the end to save money.   If your like me and dont have home laundry perhaps a friend will help you out.  I will be doing my pre-washing at my moms.  Although I wouldn't ask to do all my laundry this way (cuz I'd feel like a college student who saved her laundry for holidays at home),  I dont mind asking for this situation.  If your starting your cloth diaper journey with a newborn you could ask someone to do this as a shower gift. 

Pre-wash several times first and your diapers will work if you change them.  Also keep in mind many are made to be used with a cloth liner (like mine) .  Often its not added to the core because some if the benefits of a seperate liner are the same as the benefits of a prefold.  These are: adjustability, more thorough clean, faster dry. 

Friday 21 February 2014

PREFOLD DIAPER TUTORIAL

Now that all the fluff materials has arrived, been purchased and prewashed; its time to make my diapers :) ok well the baby's diapers.  These prefolds will have a finished size of 12.4 x 15 inches aand be a 2/4/2 diaper.  Don't be worried that a 2/4/2 wont be sufficient.   It is.  And with these fabric choices it will be absorbent.

DIAPER PARTS:
•2 outer layers (I used cotton flannel).  Each piece 13.6 in x 16.4
• 2 core layers (I used bamboo French Terry and zorb). Each piece 5 x 15
• Velcro 15cm. 
Once all your pieces are cut its time to prep and sew.
 
PREP TIME
• Outside layer

Outer core layer (zorb) Second core layer (Terry, weave side up) Fold seam allowence (seam allowence is 5/8 in) of flannel over top and bottom of core. Fold seam allowence of top (flannel) layer over and match up ontop of all the other layers. Pin. Fold and pin seam allowences of sides. Iron.
TIME TO SEW:

First change the needle in the sewing machine to a quilting or universal needle. Changing the needle at the start of each project gives a smoother stitch. Clean out bobbin run. Doing this often is a good plan. Tiny thread bits will cause major problems, prevention makes the job more smooth. Set machine dials to zigzag on widest and longest stitch. Opting for zigzag will make the job easier. If any seam is a little off, the zigzag will catch both edges. Many prefolds are edged with a zigzag. I've opted to hem instead because of how badly flannel frays. Zigzag stitches are also good for materials that fray easily. Feel the core inside? Use the feel as your guide. Line the edge up with Presser foot and zigzag down length of diaper, sewing through the core edge. Do this on both aides of core. Zigzag around the entire outside edge of diaper.

Open up Velcro and place 10cm of loop (fuzzy) side on the bottom-middle of the outside of diaper. Zigzag in place. Cut (2) 5cm pieces of hook (rough) side of Velcro and (2) 2.5cm of loop side of Velcro. Place one of each (hook side at outer edge) in the top outer edges of inside of diaper. Zigzag stitch and your done. AND NOW:

That extra piece of loop Velcro on inside of diaper allows you to fold over hook side of Velcro at wash time. This makes it last longer.
TO FOLD YOUR PREFOLD:

Fold bottom edges on an angle Place any inserts (doubler, liner) down centre, over core. Fold diaper up Do Velcro up. And your done! Well now you might want to wwash and dry a few times to make them quilt (Bunch) up.